Friday 29 July 2011

Artistry : Mondrian

One of favorite artists ever is Piet Mondrian. He was really the only artist I ever took interest in at school! For those of you unfamiliar, this is a classic example of his work - 


I hope you can see why I thought it would make great inspiration for a nail design! 
I recently discovered a fabulous website called sparkly-nails.co.uk. It's great for all kinds of nail art supplied and at decent prices too. So I bought some black striping tape for £2.20 for about 1.6 metres, and thought I would give this a go!
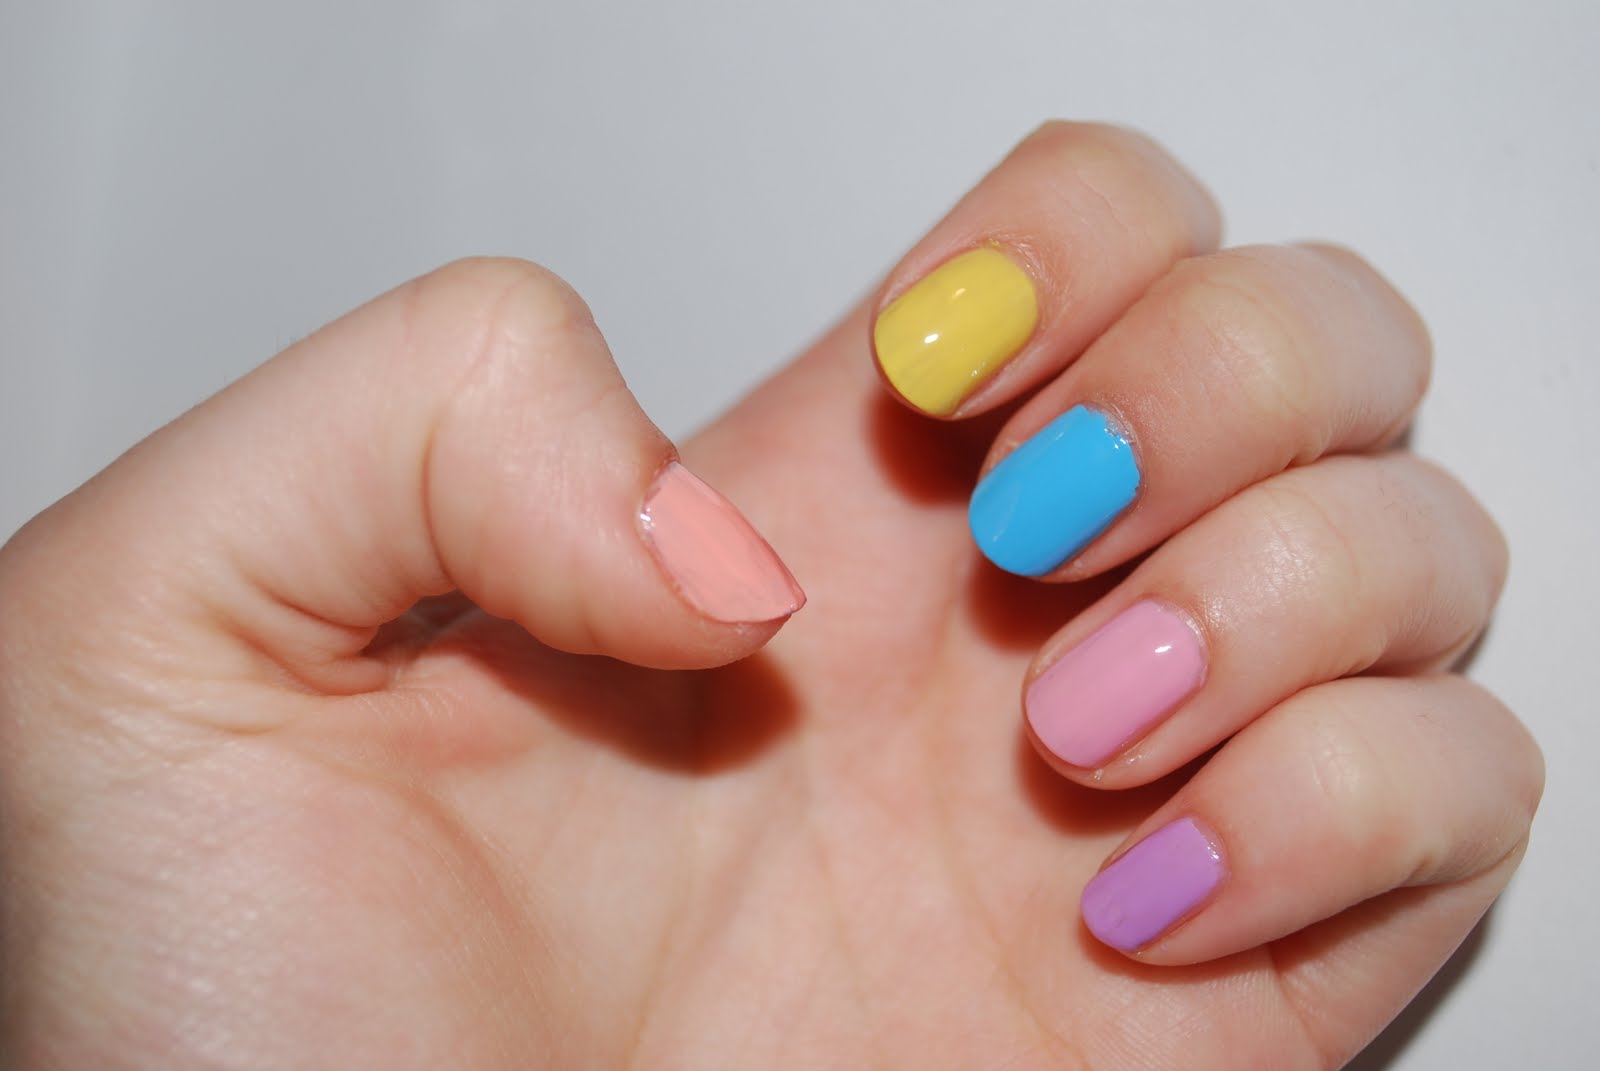
And here is how it turned out -


As with many things on this blog, this was my first ever try at striping tape, but I think I did alright!

The colours I used are all (suprisingly) BarryM
- 66 Matt White
- 47 Black
- 134 Yellow
- 291 Cobalt Blue
- 262 Bright Red

- So to begin, basecoats and two coats of the white.
- Then I cut small lengths of the striping tape, and used tweezers to place it on my nails to outline the pattern I wanted - 


- Next, using a selection of brushes from my new set off Ebay, I painted two coats of each colour in each space.
- Finish with topcoat.

I must admit that this look really did test my patients! I properly enjoyed doing it though, and I am proud of the finished look. And I must admit, I think it's the best look I've done to date! 

Hope you all enjoy, and don't forget to check out sparkly-nails.co.uk. Amazing site!

Adios :)

WN x


Thursday 21 July 2011

Classic Mani - Avon Style

Speaking of a classic manicure, my Avon order came the other day and one of things I ordered is a French Manicure set. It comes with a white and a nude and tip stickers aswell. Like so - 


And this is the result - 


I think the colours and the formulas are perfect for the classic manicured look.
It's pretty easy to do and as you get all the bits you need in the kit it's great value for money.

- So first off the usual basecoats
- Then apply the tips to the nail wherever you want - 


- Next two coats of white over the tip of the nail
- Once dry remove the tip so as the keep the line nice and sharp- 


- Two coats of the nude colour over the whole nail
- Top coat
- Done :)

I think, as much as I love nail art and experimenting with colours and patterns, you can't beat a good manicure! And I really like this kit. It's a great price and the polishes are full size. And for about £6 (I think!) proper bargain.

Definitely recommended!

Till the next one....

WN x


Diagonals

I bought yet more Barry M recently. I know. Surprise. And I wanted to try out both colours but I'm far too impatient to do them separately. So here they are together - 


Nice. This kind of thing is super easy. Really if I can do it.......

So, colours Barry M - 312 Indigo
                           - 302 Fushia

- Basecoats!
- Next, using scotch tape, tape off your nail wherever you want your colours to meet - 


- Scotch tape is really best for this as, if your careful with it, it won't pull of your basecoats when you remove it!
- Then, paint two coats of your colour on the bottom half of the nail.
- Spray of quick dry before you remove the tape so as the keep the line nice and sharp -


- Then carefully paint two coats of the second colour on the top of the nail. 
- Top coat and done!

It really is easy to do, and I think it makes a fun change to the classic manicure shape.

Hope you enjoy kids,
Tatty bye :)

WN x

Monday 18 July 2011

Aztec Godess

I love it when a high street store comes out with some great nail varnishes and this is my latest purchase - 


It's from Accessorize and it's called 'Aztec' and it's so beautiful! In the photo I have three coats on, and you can really see how the colour builds up as you add layers. It has the prettiest aqua blue undertone and it shines all kinds of colours in the light, from gold to purple to green. 

All in all I was super impressed by this polish and, with the fab range of colours they have, I reckon you can't go wrong for £4! All in all, Love.

See you soon,

WN x

Thursday 14 July 2011

Shooting Stars

I thought I'd have a go with my new rhinestones and here are the results - 


The colours I used were Barry M 292 Navy and 264 Pink Iridescent. 
So - Two base coats to start
- Then two coats of navy.
- I then used one of my new ebay brushes to paint three stripes coming from the same point in the top left corner of my nail.
- I used the Pink Iridescent as it's very subtle and I wanted the rhinestone to be the star of the show! (See what I did there?!)
- Next I put a dot of clear varnish at the point where the three Pink lines meet to hold the rhinestone.
- I used a pointed orangewood stick to pick up the star shaped rhinestone using a tiny bit of clear varnish on the end of the stick.
-Then, I placed the star on the nail.
- Top coat and Done!!

Apologies for the green stars but these are the only colour stars I got! Now, this is my first proper attempt at anything like this, but I think I did pretty well.......!
I did love getting creative and I have plenty more ideas swimming around so I'll definatley be doing a few more blogs along these lines :)

Till the next one...

WN x

Tuesday 12 July 2011

I Scream, You Scream,

We all scream for ICE CREAM!
It's summer time YAY! And what do we all enjoy in summer, yep you guessed it, Ice cream :)
I was updating my Barry M collection (obviously) and discovered that I own 5 colours all relating to ice cream, so, here they are - 


Yum, yum. The colours are all Barry M. From left to right - 
- 318 Peach Melba
- 307 Lemon Ice Cream 
- 306 Blueberry Ice Cream
- 309 Strawberry Ice Cream
- 308 Berry Ice Cream

I have two coats of each on, except for the yellow, which I used three.
I think the pink is just the most beautiful nude tone, and the yellow could be a great duplicate for Mimosa by Chanel. But my favorite has to be the purple. I think it really is almost good enough to eat! You know, except from the chemicals.....

WN x

Saturday 9 July 2011

All That Glitters...

....is Gold! Or black. I bought some glitters from Hobbycraft (5 tubes for £3.79 yay!) I also got some plastic containers to store them in. (75p each AND they're 3 for 2. Proper bargain.) HERE THEY ARE - 


Oooh sparkly!

An this is the look I did using the black one - 


Colours - 
- Barry M - 301 Block Orange
- Barry M - 47 Black

- Firstly the everpresent 2 Base Coats
- Then Two coats of the orange
- Spray of quick dry and wait till the nails are pretty dry
- I then painted a triangle of black on the tip - 


- I then poured the black glitter over the nail.
  (I had my finger over a piece of paper which I folded in half to make it easier         to pour the glitter back in the tube)
- Next I tapped my nail on the paper to get rid of the excess glitter - 


- I also used one of the fanned brushes to lightly sweep over my nail to catch any left overs. (As you can see I did a really good job of this......!)
- Top coat to finish.

Expect a lot of glitter in the future!

Hope you like guys....
Have fun :)

WN x 


Ebay Swag!

I L.O.V.E Ebay. There are some right bargains on there!
So, a few days ago my most recent purchases came in the post, and as they are nail related, I thought I would share with you guys.....


I got a 15 piece set of nail art brushes for £2.50 and a three sets of rhinestones for £6! Here they are - 


Now they did come from Hong Kong, but they came within a week of ordering, so I was super impressed with that. (Obviously I can't remember the name of the seller, grr!)

I can't wait to try them all out, and share the various outcomes with you guys!

WN x

Wednesday 6 July 2011

The One Second Rule

I went to Meadowhall (yay) and went to a shop called 'Xtras' in The Lanes.
It is fab, full of all kinds of nail related goodies at properly bargain prices!
I've seen the Bourjois '1 Seconde' varnishes before but just overlooked them to be honest, but then I saw them in Xtras for £1.99 and thought why not eh?

So the idea behind them is that the brush is a lot larger than normal varnishes and it fans out to the size of your nail when you use it. You only need to sweep it over the nail once and it only takes one second per nail. Brilliant.

The one I got is called Prune Stellaire and it looks like this......


This is with two coats. Granted the brush didn't fit to my thumb nail........ but other than that it was great! The brush really did fit to my nail and as it just needed one sweep across the nail, it left a really smooth finish too. However it did take a bit longer than one second, a little blip I think i can overlook!

All in all I definitely recommend these for quick and easy nails in a flash.

Cheerio

WN x

Every which way

This one is a bit of an experiment...
So we all enjoy a good crackle polish and I wondered, if you paint it in different directions can you tell? Because we always paint our nails vertically, from cuticle to tip, I thought I would see if there is a change in the pattern of the dried polish if I painted horizontally across the nail or diagonally.

These are results - 


As you can see, it's quite a bit more noticeable on my ring finger where I painted diagonally, compared to my middle finger which I did horizontally. 

Oh and I used Barry M Nail Effects in 315 and underneath I used Barry M 293 Grey.

That's the end really.....

See you soon!

WN x


Tuesday 5 July 2011

Sweet Like Chocolate.

Do you love chocolate? I love chocolate. So, I thought lets do chocolate nails!
And here they are - 


Yum! So,

Colours - Barry M - 129 Chocolate Brown
           - Dior  - 219 Safari Beige

- The standard two base coats 
- I stuck french manicure tips over the very ends of my nails - 


- I then applied two coats of the Barry M colour
- Spray of Quick Dry (woo Avon!)
- Remove the manicure tips - 


- Then two coats of the Beige, top coat and we are good to go....
 I also did my right hand with the colours the other way round -


- But to be honest I like the left hand better!

As always, have FUN guys :)

WN x


Hiya Stinky......

I was going to do something else for this blog but then something came up......... 
I'm probably about 4 years behind on these, but I have just discovered Revlon Scented Nail Enamel! WOAH! This is the one I chose - 


The colour is 310 - Beach (which is what I'm assuming the polish is meant to smell of?). It has quite a thin consistency and in the picture I have 3 coats on. Now, I must admit, it didn't smell as I remember the beach to smell like, but it was really nice! And it made a pleasant change from having that usual rancid varnish smell....... 

There is a great range of bright colours which are fab for summer, and they're £6.49 (I got mine from Boots)

Happy smelling :)

WN x

Saturday 2 July 2011

Inspiration : Green Lantern

Wait, what? Well, I sort of took my inspiration from Green Lantern, but really, it's because the idea came to me whilst I was in the cinema, and I used the colours from the film!


Here's the finished look - 


SO.....

Colours - 
- Barry M - 290 Spring Green
- Barry m - 47 Black
- 17 Nail Tip Whitener

- Two base coats
- Two coats of green
- Spray of Quick Dry
- I then put a few drops of black onto a page of an old magazine, and used an old cosmetic sponge to pick up the colour - 


- I then just dabbed two coats of black onto the tip of my nails straight over the top of the green.
- Top coat and it's done!

- I also did my right hand the other way round
- I used the tip whitener over the black (also with a sponge) just so the green would show more true to colour - 


Ooooooohhh!

Enjoy kids,

WN x


Friday 1 July 2011

Happy 4th Of July!!

Hey, hey! I've been checking my stats, and it seems a lot of you guys are from America. Which is amazing to me! So I thought I'd do something jazzy for Independence Day, and here it is - 


And heeere is how I did it - 

Colours - 
- Chanel - 459 White Satin
- Barry M - 291 Cobalt Blue
- Barry M - 262 Bright Red

- Two base coats.
- I had to use 3 coats of the white as it's the only one I have, and it's quite translucent. For this look I wanted it to be quite opaque. 
- I bought some star shaped stickers from WHSmiths for about £1.50 and used to French Manicure tips from Boots - 


- Once the white is dry I stuck a small star and a manicure tip to each finger like so -


- You want the white to be dry, as when you peel the stickers off you don't want them to take the varnish with them!
- I then painted over the star up to the tip with the blue.
- Spray of Quick Dry.
- The blue also wants to be dry once you peel the stickers off to keep the lines sharp - 


- I then painted the tip with red.
- Top coat.

- DONE!

I hope you enjoy guys!

And happy 4th of July!!

WN x


Spice Rack Storage

What storage? So I went to Ikea a couple of days ago and came across these marvellous pieces of wooden magic, which have turned out to be PERFECT for varnish storage - 


They're called Bekvam and are £2.99 each. Absolute bargain.

I don't know how many of you will actually find this post useful, but I just thought I'd share , as I wish somebody had told me about them months ago!!

And before anyone asks, no I am not sponsored by Barry M!

TTFN.....

WN x